Import XLIFF
About this task
Once you receive a translated XLIFF from your Language Service Provider, you need to
import it into Fluenta to generate a translated version of your project.
Procedure
- In Projects view, select the project that will receive the translated data.
- In main menu, select or click the
 Import
XLIFF button in the Projects view
toolbar.The Import XLIFF dialog appears:
Import
XLIFF button in the Projects view
toolbar.The Import XLIFF dialog appears: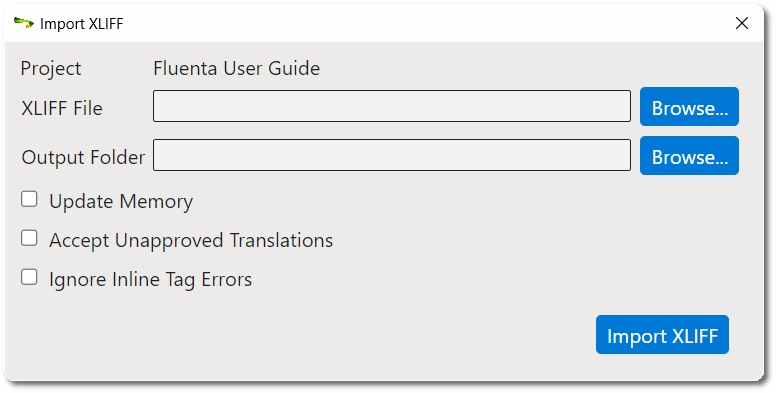
- Type the name of the XLIFF file to import in the XLIFF File text box or use the Browse... button next to it to select an XLIFF file from the file system.
- Type the name of the folder where the translated content should be placed in the Output Folder text box or use the Browse... button to select a folder in the file system.
- Select the Update Memory check box if you want to store the imported translations in the project memory.
- Select the Accept Unapproved Translations check box if the XLIFF file being imported does not have all translations marked as approved and you want to accept the existing drafts.
- Select the Ignore Inline Tag Errors check box if you want to try importing an XLIFF file despite its errors with inline tags (may break the DITA content and make publication in target language impossible). If the check box is left blank and errors are found, a detailed report of errors in HTML format is automatically generated and displayed in the default browser.
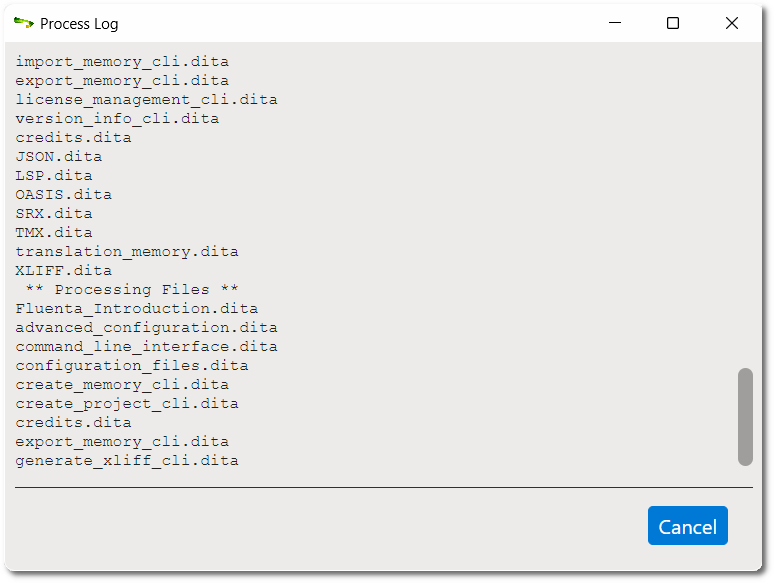
- Click the Import XLIFF button.The Process Log dialog appears:Click the Cancel button to interrupt XLIFF import if needed.