Add Project
About this task
Follow these steps to create a translation project from your DITA map.
Procedure
- In main menu, select or click the
 Add
Project button in Projects view
toolbar.The Add Project dialog appears:
Add
Project button in Projects view
toolbar.The Add Project dialog appears: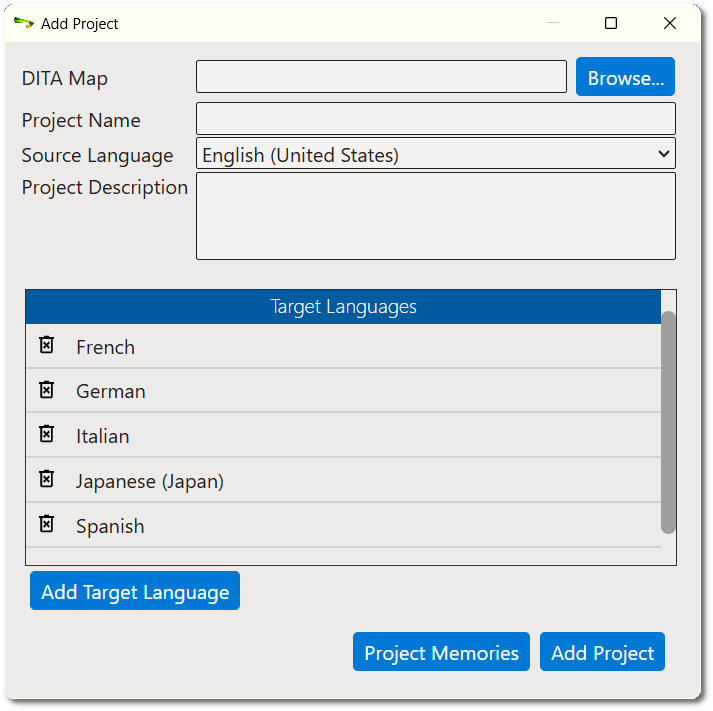
- Type the name of the DITA map in the DITA Map text box or use the Browse... button to select a DITA map from the file system.
- Type a project name in the Project Name text box.
- Select the source language of your project using the Source Language drop-down.
- Optionally, enter a description for the project in the Project Description text box.
- Add additional target languages to the default set if required.
- Click Add Target Language button.The Add Target Language dialog appears:
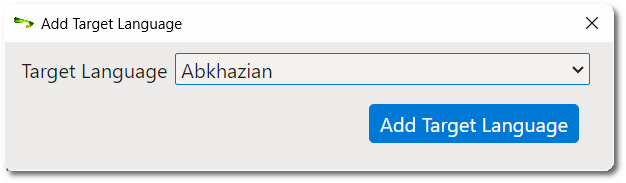
- Select a language from the Target Language drop-down list.
- Click the Add Target Language button.Selected language is added to the project and the dialog is closed.
- Click Add Target Language button.
- If you want to remove target languages from the list, click the corresponding
Remove Language buttons (
 ) on the
leftmost column.
) on the
leftmost column. - Associate existing additional memories with the new project if required.You can reuse Translation Memory data from related Fluenta projects to save on translation costs.
- Click on the Project Memories button.The Project Memories dialog appears:
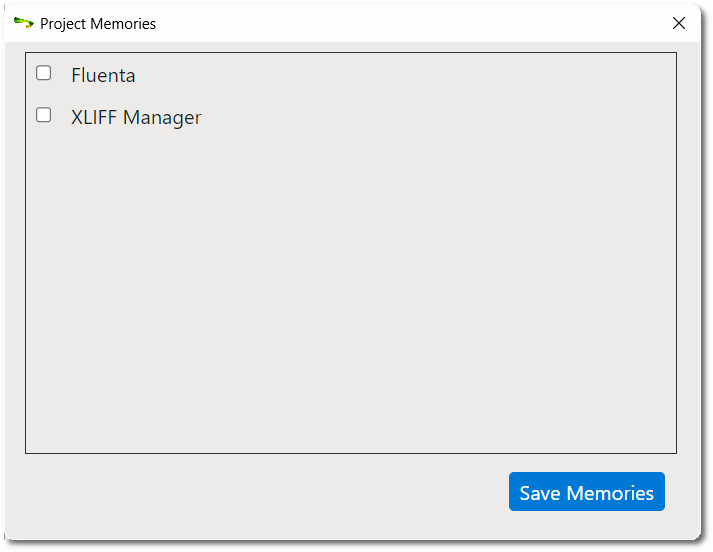
- Select the check boxes next to the existing memories that you want to associate with the new project.
- Click the Save Memories button.Selected memories are associated with the new project and the dialog closes.
- Click on the Project Memories button.
- Click the Add Project button.